HydraDrink Pro Winterizing Guide: Prevent Freeze Damage
When winter temperatures drop below freezing, the HydraDrink Pro’s internal plumbing and valve system become vulnerable to ice expansion, which can crack plastic housings and damage seals. Without proper preparation, a single hard freeze can render the unit inoperable, costing hundreds in replacement parts. This guide provides specific, step-by-step procedures to winterize your HydraDrink Pro and protect your investment through the coldest months.
Why Does the HydraDrink Pro Need Special Winterization Compared to Other Waterers?
Unlike many gravity-fed or simple float-valve waterers, the HydraDrink Pro incorporates a thermostatically controlled heating element integrated directly into the valve body and a pressure-regulated supply line. The heating element, rated at 150 watts, is designed to keep internal water temperature above 4°C (40°F) in ambient temperatures down to -20°C (-4°F) when properly insulated. However, if power fails, the unit is unplugged for cleaning, or ambient temperatures exceed its design limit, water trapped in the valve assembly and supply line can freeze. The internal ⅜-inch ID supply hose and the brass valve seat are particularly susceptible because even a thin layer of ice can block the float mechanism or crack the plastic housing around the heater well. Standard waterers often rely solely on drain-back valves; the HydraDrink Pro requires active thermal management during fall shutdown and spring startup.
For a full breakdown of the unit’s flow-rate and frost protection specs, see our HydraDrink Pro Automatic Waterer Review: Flow Rate & Frost Protection.
When Should I Start Winterizing: Temperature Thresholds and Timing
Begin winterizing when the forecast shows consistent nighttime lows at or below -5°C (23°F). At this temperature, the heating element may struggle to keep the valve body ice-free if the unit is not insulated. The recommended schedule:
- Fall (before first hard freeze): Drain and flush the entire system. Remove the supply line from the pressure regulator and blow out residual water with compressed air at 30 psi.
- Mid-winter (monthly check): Verify the heating element draws 150W ±10W using an ammeter. Ensure the thermostat clicks on below 5°C (41°F).
- Spring (thaw ready): Refill and pressurize only after all threat of freezing has passed. Run water through the drinker for five minutes to purge any air locks.
If you plan to relocate the unit for winter, see our Top 5 Livestock Waterers Compared: HydraDrink Pro vs Competitors for portability notes on similar units.
| Condition | Urgency Level | Recommended Action |
|---|---|---|
| Heater draws 140–160W at -10°C (14°F) | Usually not urgent | Monitor weekly; clean heating element area |
| Heater draws below 130W or above 170W | Needs attention soon | Check voltage and replace thermostat or element |
| Water drips from supply line connection when unplugged | Usually not urgent | Tighten compression fitting or replace O-ring |
| Continuous leak from valve body at -15°C (5°F) | Needs attention soon | Inspect for ice crack; replace valve assembly |
| Float sticks in open position after thaw | Needs attention soon | Disassemble, clean, and lubricate with food-grade silicone |
| Thermostat clicks above 10°C (50°F) | Usually not urgent | Adjust calibration screw or replace thermostat |
How Do I Drain the HydraDrink Pro Supply Line and Valve Body?
Draining is the most critical step. Follow these steps exactly:
- Unplug the unit from the GFCI-protected outlet. Confirm power is off with a non-contact tester.
- Disconnect the supply line from the pressure regulator. Use a 7/8-inch wrench to loosen the brass union fitting. Lift the line above the unit to allow gravity drainage.
- Remove the drain plug located beneath the valve body (hexagonal brass plug with a rubber washer). Place a bucket under the unit. Expect 1–1.5 litres of water.
- Blow out the valve body using compressed air at 20–30 psi through the supply port. Open the drinker flap and hold the float down to open the valve. You should see air bubbles and residual water exit the drain hole.
- Leave the drain plug out for the entire winter. Store the plug in a labeled bag taped to the unit’s side.
For best practices when placing the unit near feed stations, read Setting Up HydraDrink Pro Near Feed Stations: Best Practices.
Should I Add Antifreeze or Propylene Glycol to the HydraDrink Pro?
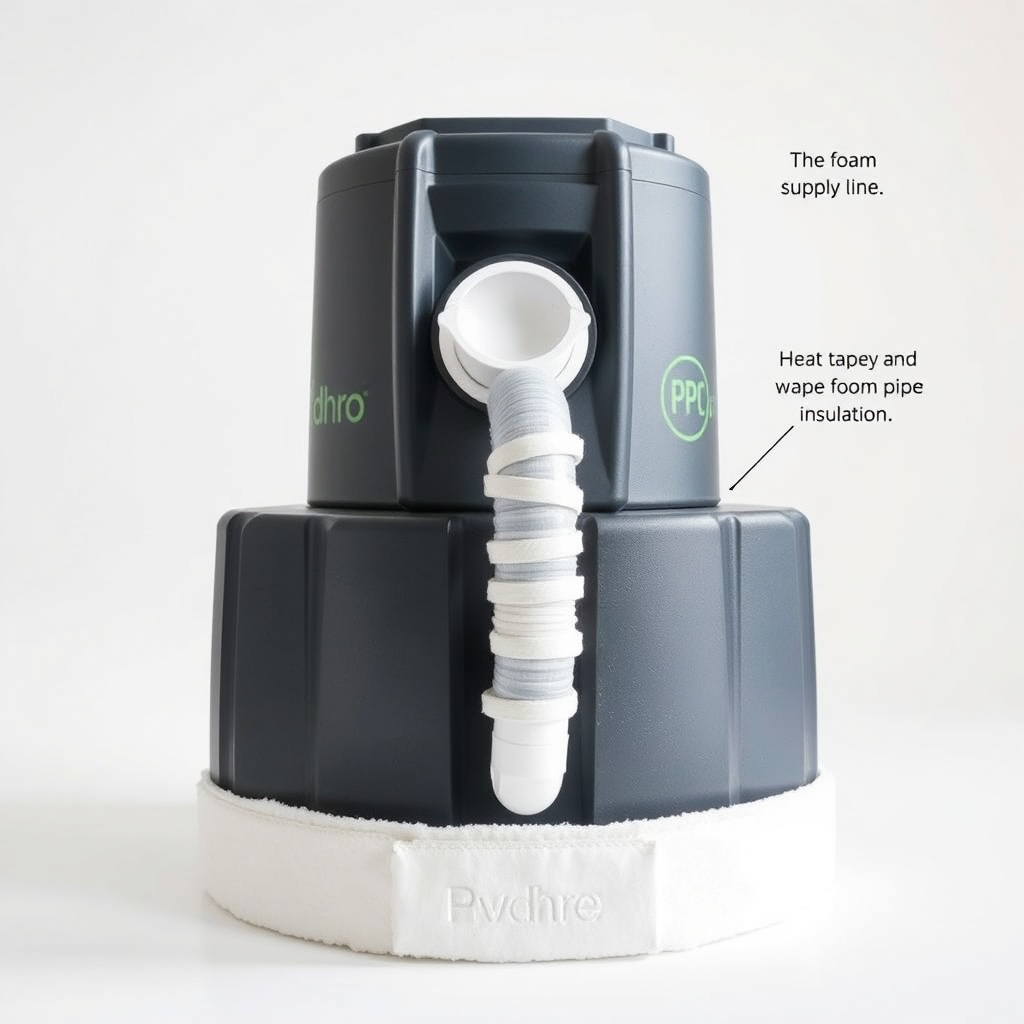
No—never use automotive antifreeze (ethylene glycol). It is toxic to livestock. Food-grade propylene glycol (PG) can be used in the supply line if the unit will be in an unheated barn, but only under specific conditions: mix at a 40% PG to 60% water ratio (freezes at -25°C/-13°F). However, PG leaves a sticky residue that attracts dust and can gum the float valve. Most experienced owners prefer to fully drain and blow out the lines. If you must use PG, flush the entire system with fresh water in spring. A better alternative is to wrap the supply line with self-regulating heat tape rated for exposed wet locations, then insulate with foam pipe wrap (R-value 3.5 or higher).
What Insulation Modifications Protect the HydraDrink Pro Housing?
The factory insulation (1-inch closed-cell foam around the bowl) is adequate for sheltered installations. For exposed placements, add:
- Exterior foam panels: Cut 2-inch extruded polystyrene (XPS) to fit around the unit’s body, leaving a 2-inch gap around the heating element access panel.
- Insulated skirt: Build a 6-inch-wide, 4-inch-tall foam base around the ground contact area to block wind from under the unit. Use pressure-treated plywood for support.
- Drinker flap cover: In extreme cold (-15°C/5°F), a hinged plastic flap (available from HydraDrink’s winter kit) reduces heat loss through the opening by 40%.
Do not cover the power cord entry or the ventilation slots near the heater—overheating the thermostat can cause premature failure.
What Owners Say
- Mark from Wyoming: “Left the drain plug out all winter, no issues. But I did blow out the line twice—once in November, once after a February thaw. Ice never formed inside the valve.”
- Sarah in Minnesota: “I skipped the PG and just used heat tape on the supply line. The factory heater alone wasn’t enough when temps hit -30°C. Added foam panels like the article says—now it runs fine.”
- Tom from Ontario: “My mistake last year: I forgot to remove the drain plug after a December cleaning. Three-day power outage froze the valve body solid. Cracked the plastic housing. Replacement cost $180 CDN. Now I’m religious about the plug being out.”
Frequently Asked Questions
Q: Can I leave the HydraDrink Pro plugged in all winter without draining?
A: Yes, if power remains on and the heater works. However, if you’re away for more than 48 hours during a power outage warning, drain it. Leaving water in with no power is a high-risk scenario.
Q: What is the exact wattage of the heating element and how do I test it?
A: The element is rated 150 watts at 120V. Use a clamp meter on the hot wire; if the reading is below 130W, the element may be failing and should be replaced.
Q: My supply line freezes before it reaches the unit—what size heat tape do I need?
A: Use a 120V, self-regulating heat tape rated for 10W/ft. Wrap the tape in a spiral with 2-inch spacing, then cover with 1-inch foam pipe insulation. For a 50-foot run, plan for 500W total draw.
Q: Can I use RV antifreeze in the HydraDrink Pro?
A: No—most RV antifreeze contains propylene glycol but also bitter agents and corrosion inhibitors. These can coat the float valve and attract animals to lick the residue. Use only food-grade propylene glycol, or better, drain completely.
Q: How do I know if the thermostat is working correctly?
A: At room temperature (20°C/68°F), the thermostat should be open (no continuity). When placed in a freezer below 5°C (41°F), it should close and show continuity. If it clicks on at 10°C (50°F) or higher, it needs calibration or replacement.
Q: What should I do if the housing cracks from ice damage?
A: Stop using the unit immediately. Water leaks can cause electrical shorts. Replace the housing assembly (part #HDP-100). Do not attempt to seal cracks with epoxy—ice will widen them. The repair cost is typically £120–150 GBP or $150–200 USD for parts and labor.